
Appearance
2. Add and organize a wall
Draw a wall three tiles wide and two tiles high along the platform's back edge, then group its six faces into a scene object.
Before you start: Continue from Draw a tiled platform, or download stone-platform.pvp and choose File → Open .pvp….
Time: about 5–10 minutes. Screenshots show the dark desktop interface; click them for full size.
1. Open the platform
Confirm the status bar counts nine floor tiles. Use View → Frame scene if the platform is outside the view. The translucent brush preview is not an additional saved tile.
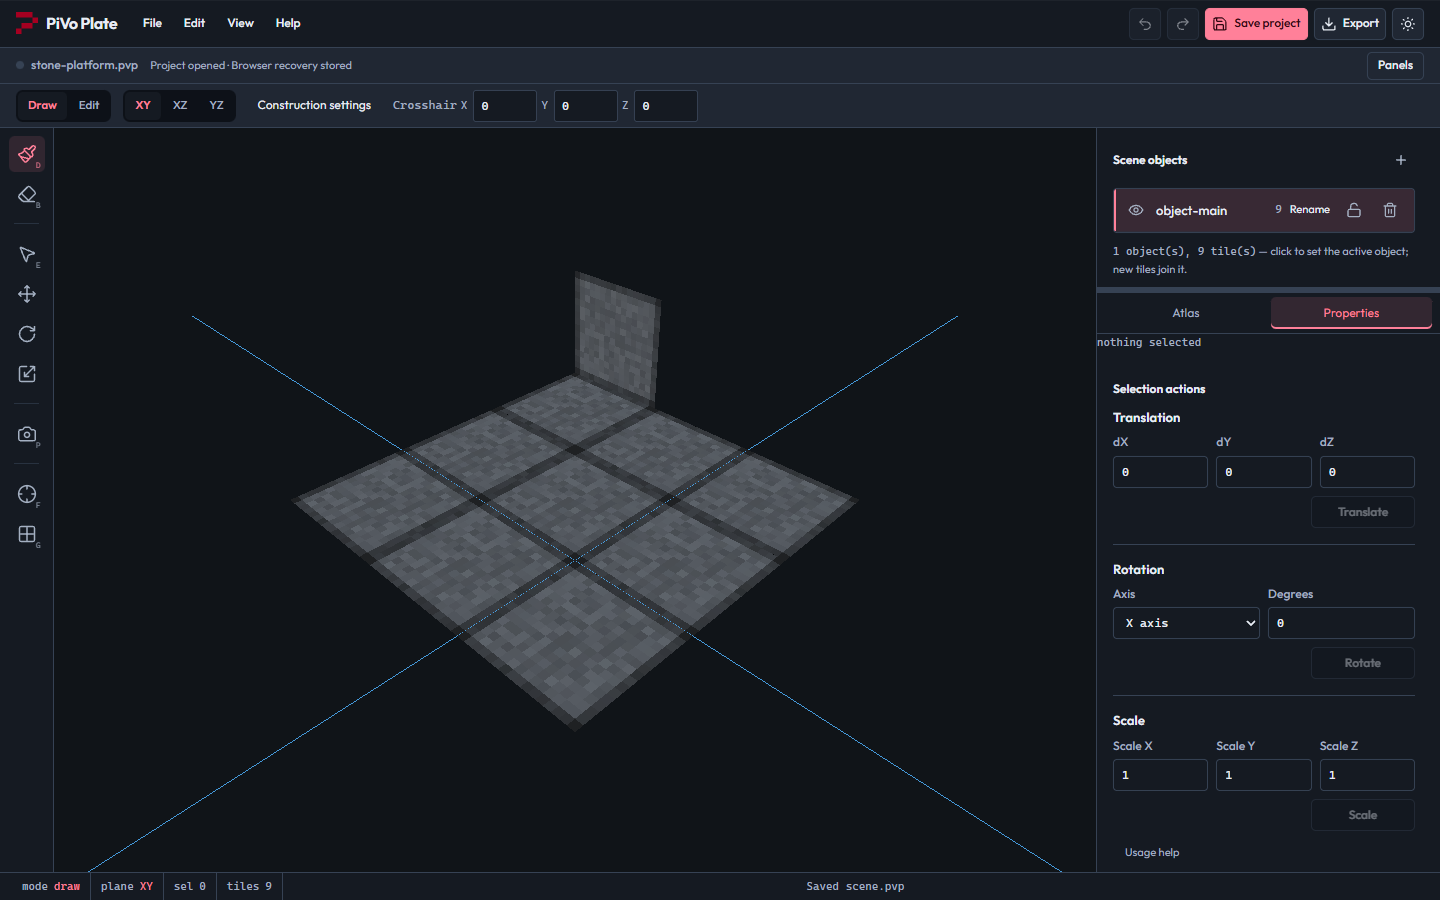
The saved platform is the starting point for the wall.
2. Choose the wall texture
In the Atlas tab, click the stone brick cell at column 4, row 2, counting from 1 at the top-left. It is the gray masonry cell, not the red brick cell.
3. Choose the wall plane
Select XY in the context toolbar, or focus the viewport and press X. Set the toolbar's Crosshair Z = 0 and commit the field with Tab. Open Construction settings and enable plane locking if it was reset by opening a project.
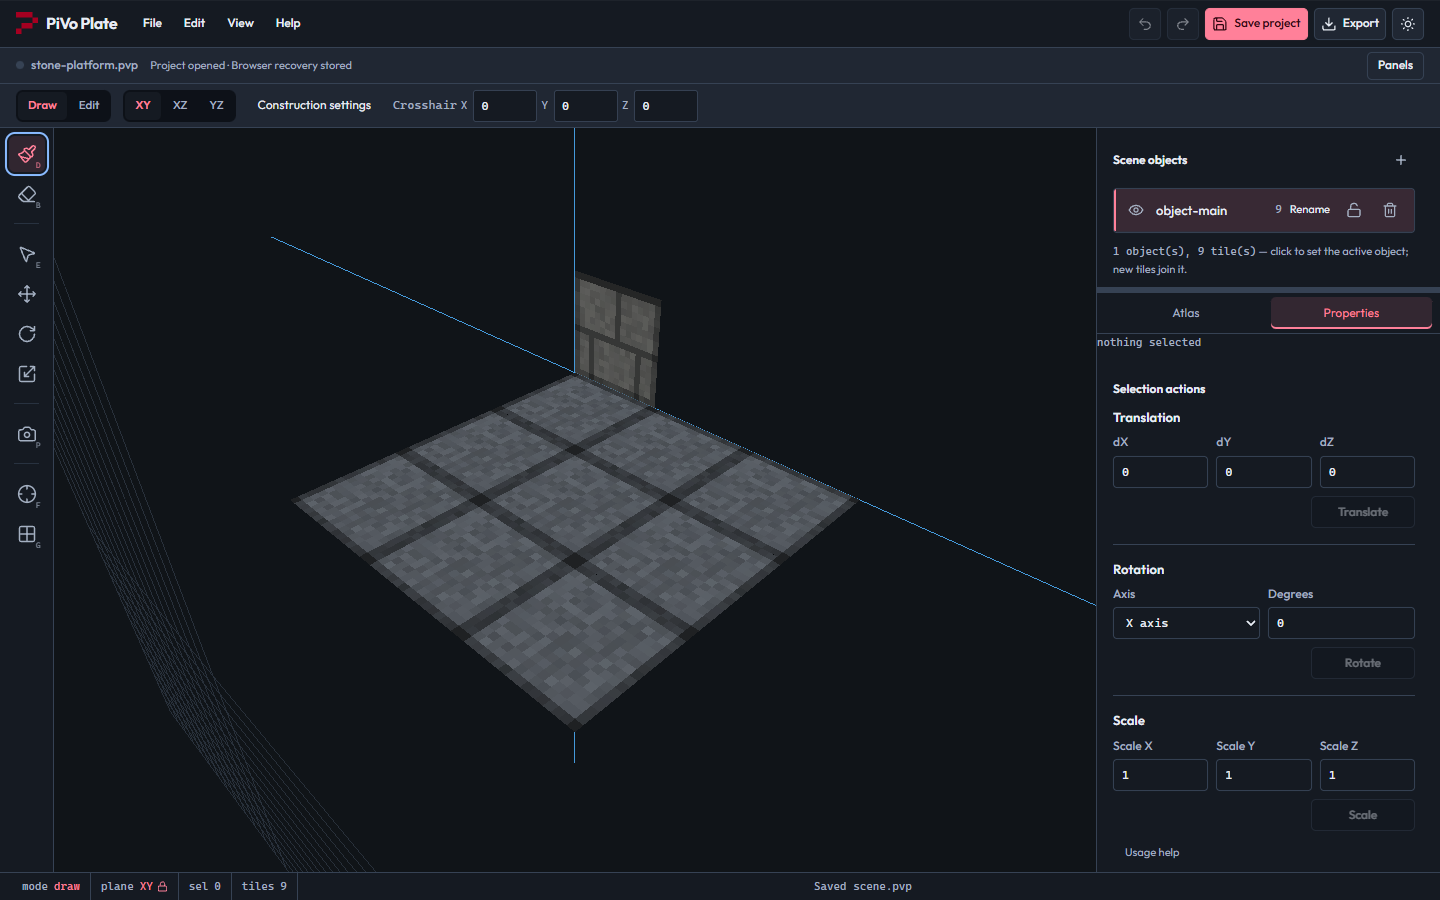
XY is locked at Z = 0, with the wall brush selected.
4. Draw the lower wall row
In Draw mode, click three cells along X 0–1, 1–2, and 2–3, at Y 0–1. They stand along the platform's Z = 0 edge.
5. Add the upper row
Place three more tiles at Y 1–2, using the same X cells and Z = 0 plane. Use View → Frame scene to view the platform and wall together.
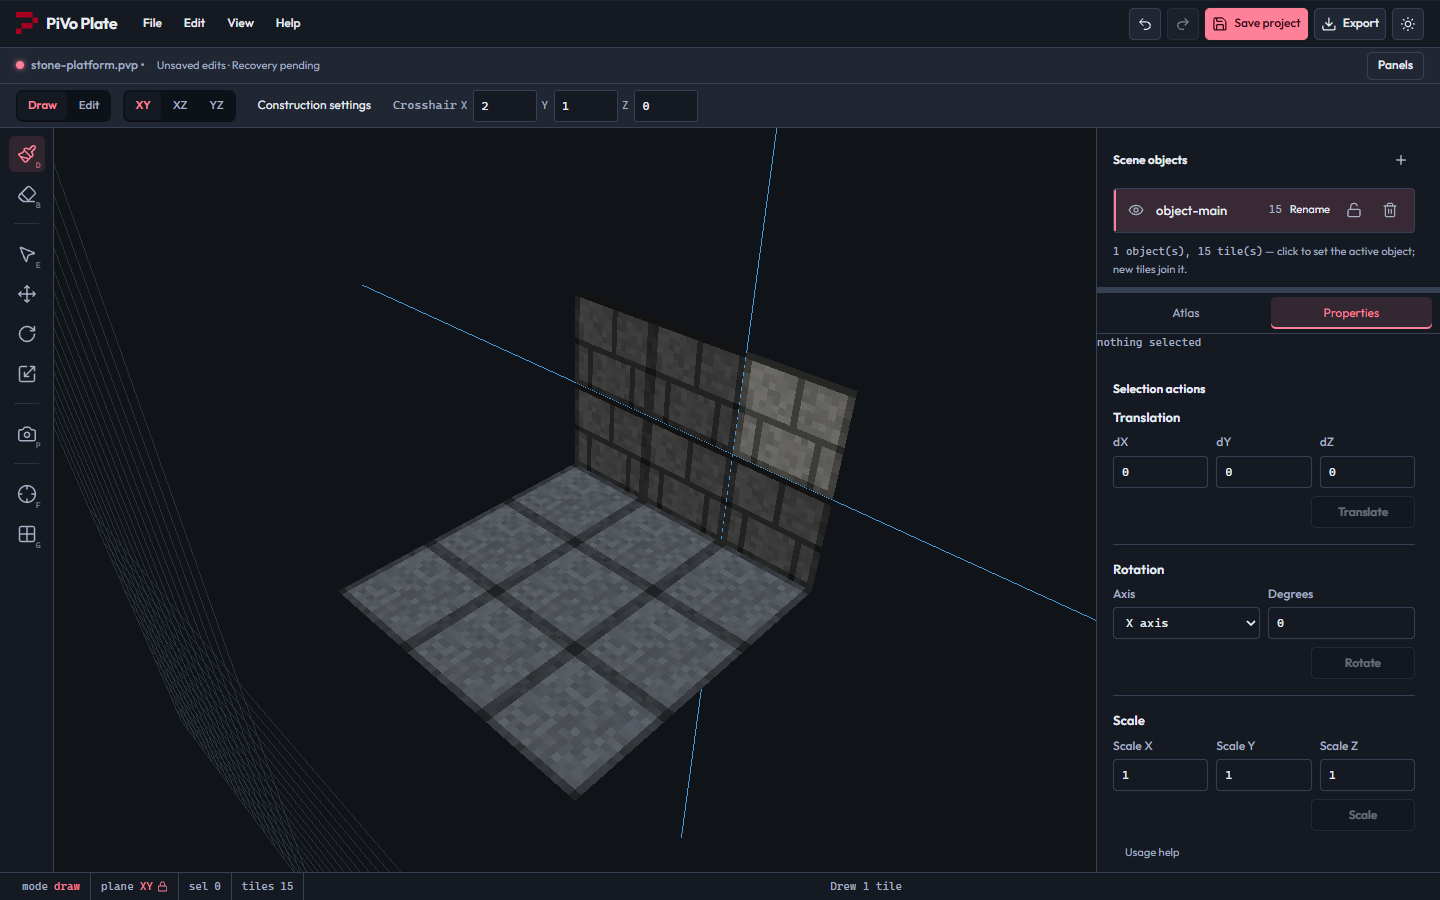
Six upright tiles form a three-wide, two-high wall behind the platform.
6. Select all six wall faces
Click Edit in the context toolbar, or focus the viewport and press Tab. Click one wall face, then hold Shift while clicking each of the other five. The status bar should show sel 6 before grouping.
7. Group and name the wall
In the scene hierarchy, scroll if needed and click Group selected. Click the new object's Rename button, enter Wall, and press Enter. Its tile count should be 6; the floor object should still have 9.
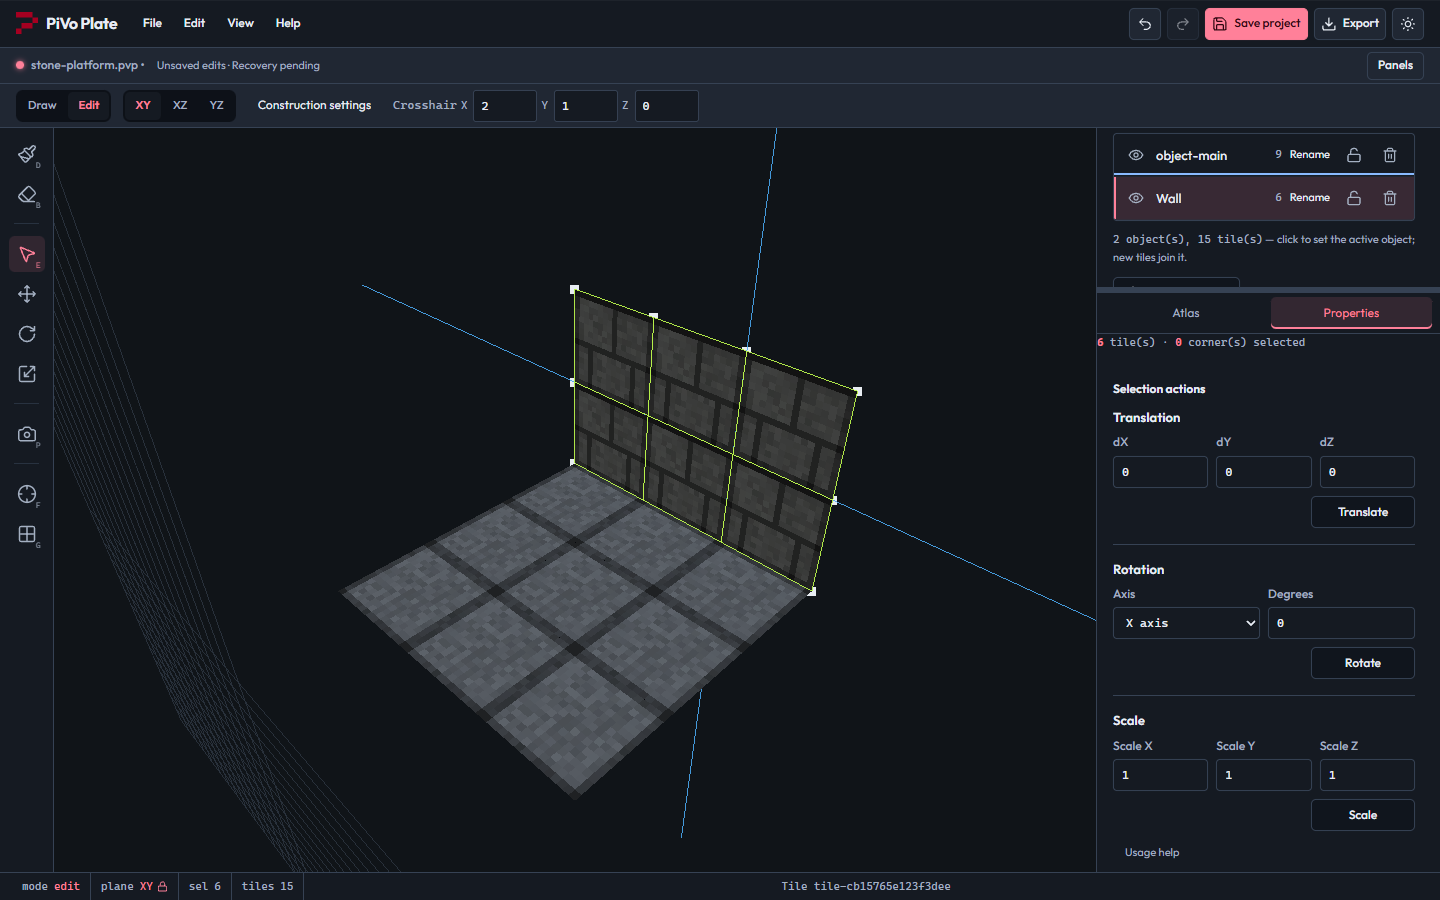
The scene hierarchy contains Wall with six tiles and the floor object with nine.
8. Save the organized scene
Click Save project and keep the .pvp as platform-wall.pvp. Grouping organizes faces without changing their world positions.
Finished result
A 15-tile scene: a nine-tile floor and a six-tile wall grouped as Wall.
Download the finished project.
If something looks different
Opening a project resets construction/session controls, so recheck plane locking. Shift must remain held during each additional face click. If the Wall object's count is 1, undo grouping and select all six faces again.
Previous: 1. Draw a tiled platform · Next: 3. Re-texture a face and export GLB